Connecting The Speakers

First of all, i had to ensure that the power supply was indeed turned off so there is no health and safety risk.

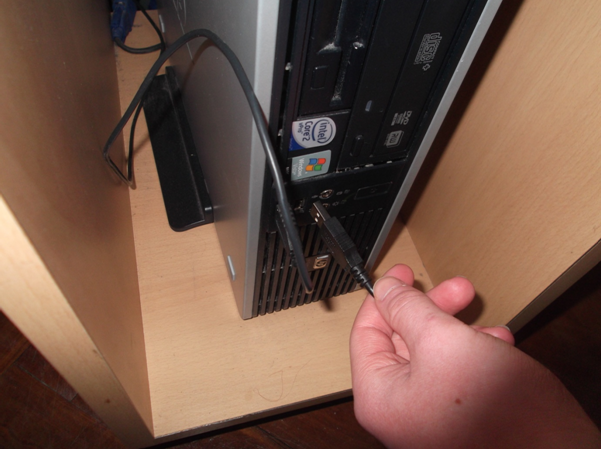
This is what the back of the hardrive looks like before i have inserted the spreaker cable.

This is me connecting the speaker cable to the back of the hardrive.

Here is the speaker cable finally connected to the back of the hardrive to ensure that it has been inserted correctly.
Connecting the Camera
I then connected the Camera to the computervia USB. Here you can see how you connect the USB.

When i connected the USB, this appeared on the computer screen to ensure that the USB was connected properly.

After i was sure that the Camera was connected properly, i then went to find it in the device connections and from there i could find everything i needed.
Health and safety when connecting peripherals
Peripherals are externally hooked up to your computer. Your actual PC, itself, is nothing but the console (or tower). Everything else is considered a peripheral. To do much of anything with a PC, you’ll need at least a few peripherals. The best way to connect peripherals to your CPU or computer is to make sure that you turn off any electrical components to do with your CPU or computer. You then can connect your peripherals to your computer without the worry of an electric shock. Below I am going to explain how to connect a few different peripherals correctly and safely.
Printer
Make sure that the computer system is switched off. Connect the square end of the USB to the printer and the rectangular bit to your pc or laptop. You may then turn your printer on and the computer should recognize it as a pc. Keep your desk tidy so that any objects don’t get tangled up with wires or components also. If you do not keep your workstation tidy it could lead to wires over heating when any of your objects cover your components this can be a health and safety issue.

Speakers
Ensure that the computer is turned off and plug the speakers into the power socket.
Locate the 3.5mm jack connected to the cable at the back of the speakers. You’ll use this plug to attach them to your computer tower. On the back of the computer tower, there is a number of small, round, coloured-coded sockets. The one to plug your speakers into is usually green. It may also be marked with a headphones symbol or be labelled ‘Audio out’. Make sure not to push to hard as it might break. Again make sure there are no untidy cables.

Digital camera
Before the user tries to connect their own digital camera to the computer, they must read the camera manual and follow the instructions carefully. It is very important to have the computer switched off from the socket when the user is trying to plug something to the computer. As the computer is switched off, connect the USB to both the computer and the camera then switch it on. This is to prevent the risk of electric shock.

Microphone
Be careful when connecting the microphone as people can be confused and insert the jack into the wrong socket. The correct socket is mostly coloured pink and will have an image of a microphone surrounding it to help people.

Scanner
When connecting a scanner to your computer, it is important you go by a step by step safety process. Read the manufacturer's instructions included with the scanner. Become familiar with the scanner's connections, functions and wires. Then you need to make sure the computer is switched off at the wall so there is no risk of electric shock. Locate the proper port in the back of the computer and then the other end into the back of the scanner. Connect the power cord from the computer into the wall. When you turn on the computer it will detect the new hardware.

No comments:
Post a Comment